MailChimp for Acupuncturists
Email marketing is one of the best ways to continue and build a relationship with your patients outside of the clinic. The ability to reach your patients at a personal level and to show you care for their well being is very powerful.
Using an email marketing tool helps in many ways:
- Send emails to multiple people at once
- Create beautiful emails with templates
- Track user engagement with emails
The benefits of email marketing is a larger topic deserving of its own blog post and I will save it for another day.
When I talk to acupuncturists, the email marketing tool that most are using is MailChimp. So, in this blog post, I want to give you actionable steps you can use today to start your email marketing journey with MailChimp.
MailChimp is a very affordable (free) email marketing tool that is both intuitive and simple to use.
Signup for MailChimp
So to get started, you’ll want to sign up for a MailChimp account, which you can do here: http://mailchimp.com
Create a List
A list is a group of patient email addresses. You can create different lists, for example, you might want to create a list for patients with chronic pain or a list for patients with allergies and then, you can send relevant emails to each group.
The steps to create a list are:
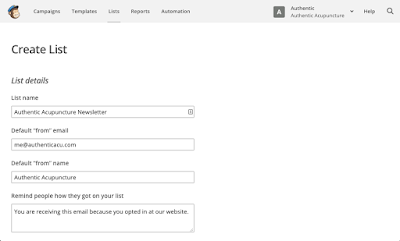
- Click on the “List” tab.
- Click the “Create List” button.
- Fill in the “List details”. To keep it simple, let’s create a list for general emails called “Authentic Acupuncture Newsletter”.
Import Subscribers
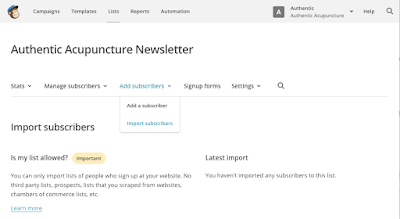
To import subscribers, on your list:
- Click the “Add subscribers” drop down.
- Click “Import subscribers”.
- Select an option for importing, if all your contact are in an Excel spreadsheet, click “Copy/Paste from Excel”.
Create a Template
Create your template by:
- Click the “Templates” tab.
- Click “Create Template”.
- Click the “Themes” tab.
- Select a template that you like.
- Use the template designer to make changes.
Create Campaign
To create a campaign:
- Click the “Campaigns” tab.
- Click “Create Campaign”.
- Select a “Regular Campaign”.
- Select “Send to entire list”.
- Enter the name of this campaign and the email subject, I like to make them the same.
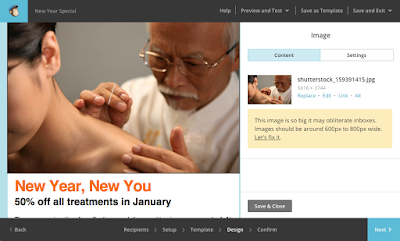
- Design the email with text and images. Here, I like to keep it simple.
- Test the email, by clicking on “Preview and Test” -> “Send a Test Email”.
- When you’re satisfied with the email, click the “Send” button.


